Onboarding checklist
Once the sensor is reporting and the inventory has started to populate, work through this checklist to get the rest of the facility configured.
Invite your team
Go to Settings and invite the people who need access to this facility, by name and email.
Add network aliases
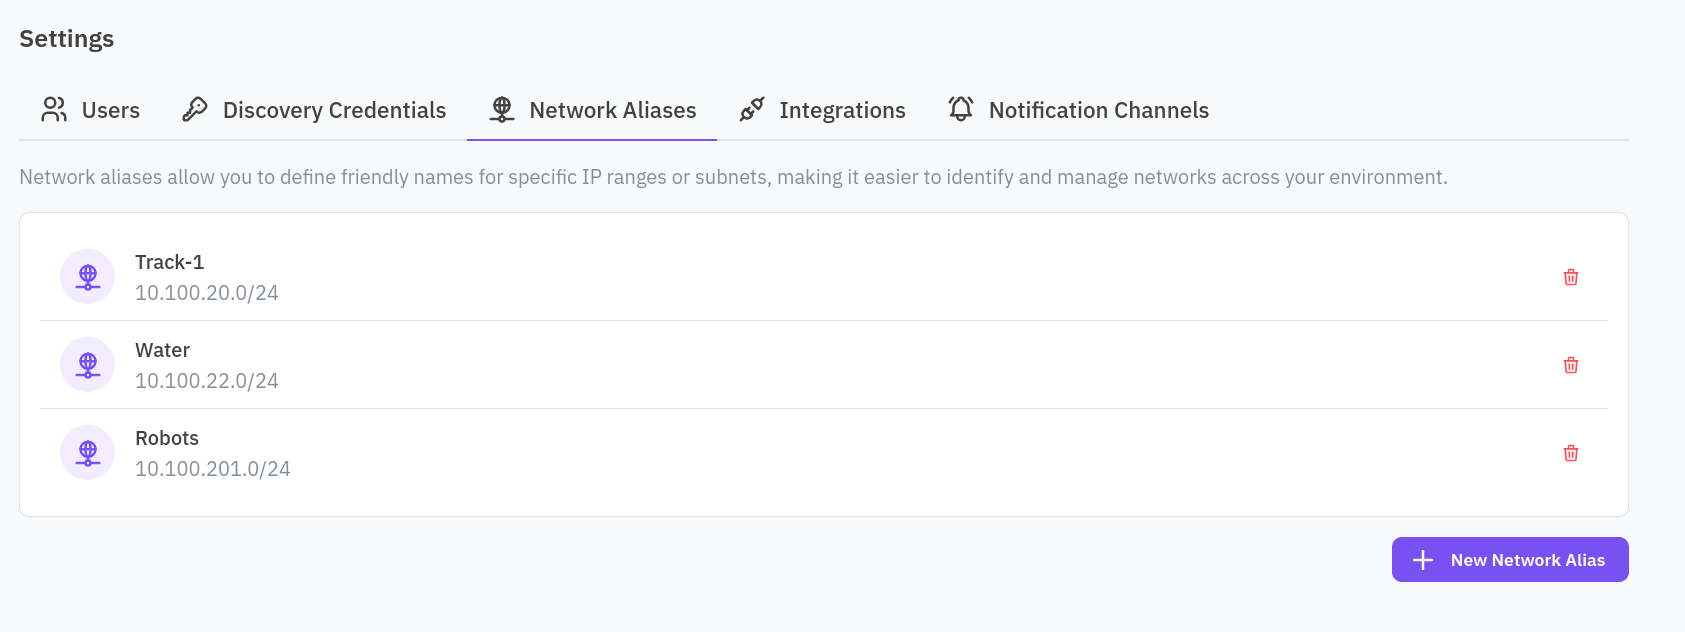
Network aliases are human-friendly names for the CIDR ranges in your network, for example naming 10.0.1.0/24 “Line A”. Add them in Settings. They make the console’s logs, flows, and reports readable at a glance, and they take effect at the next snapshot. See Snapshots and change detection.
Connect notification channels
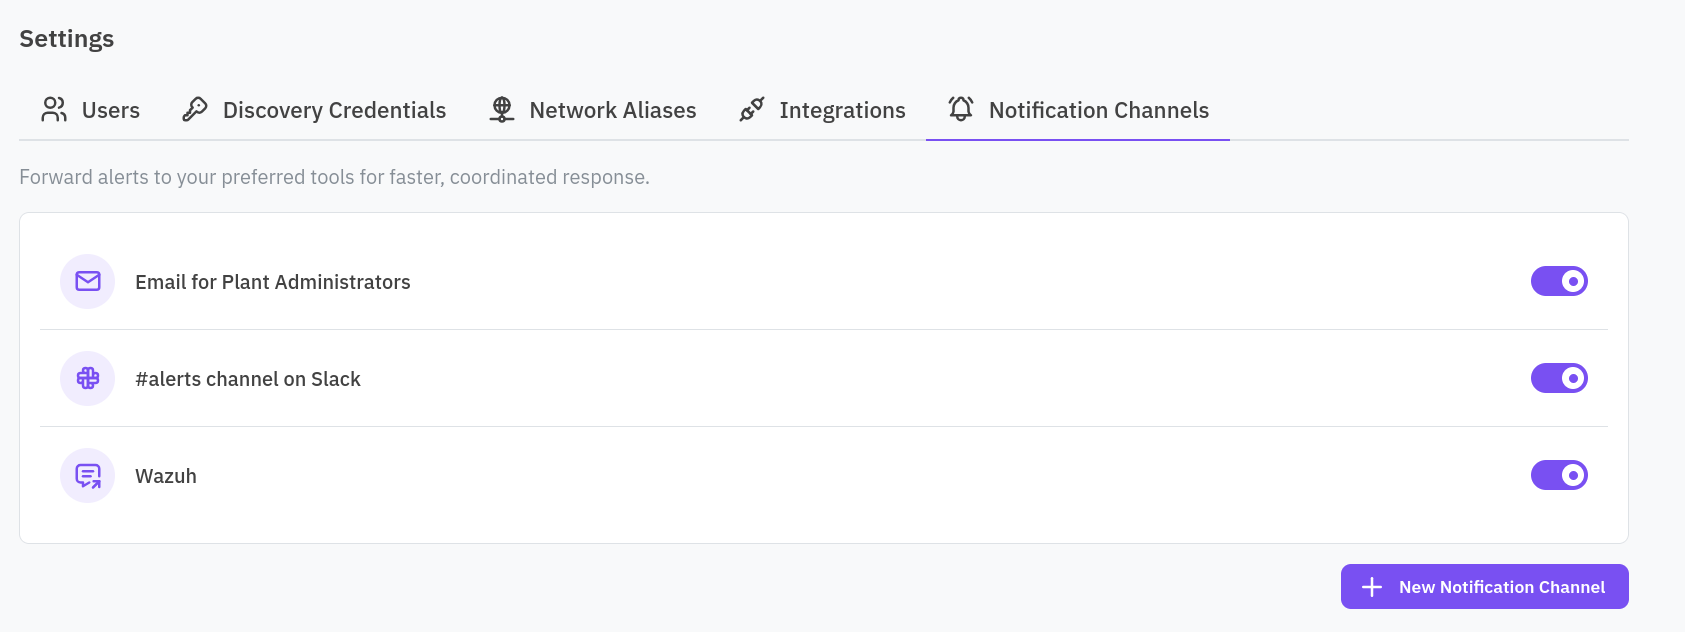
Configure email, Slack, or syslog in Settings so alerts reach the people and systems that need them, instead of relying on someone checking the console.
Add discovery credentials
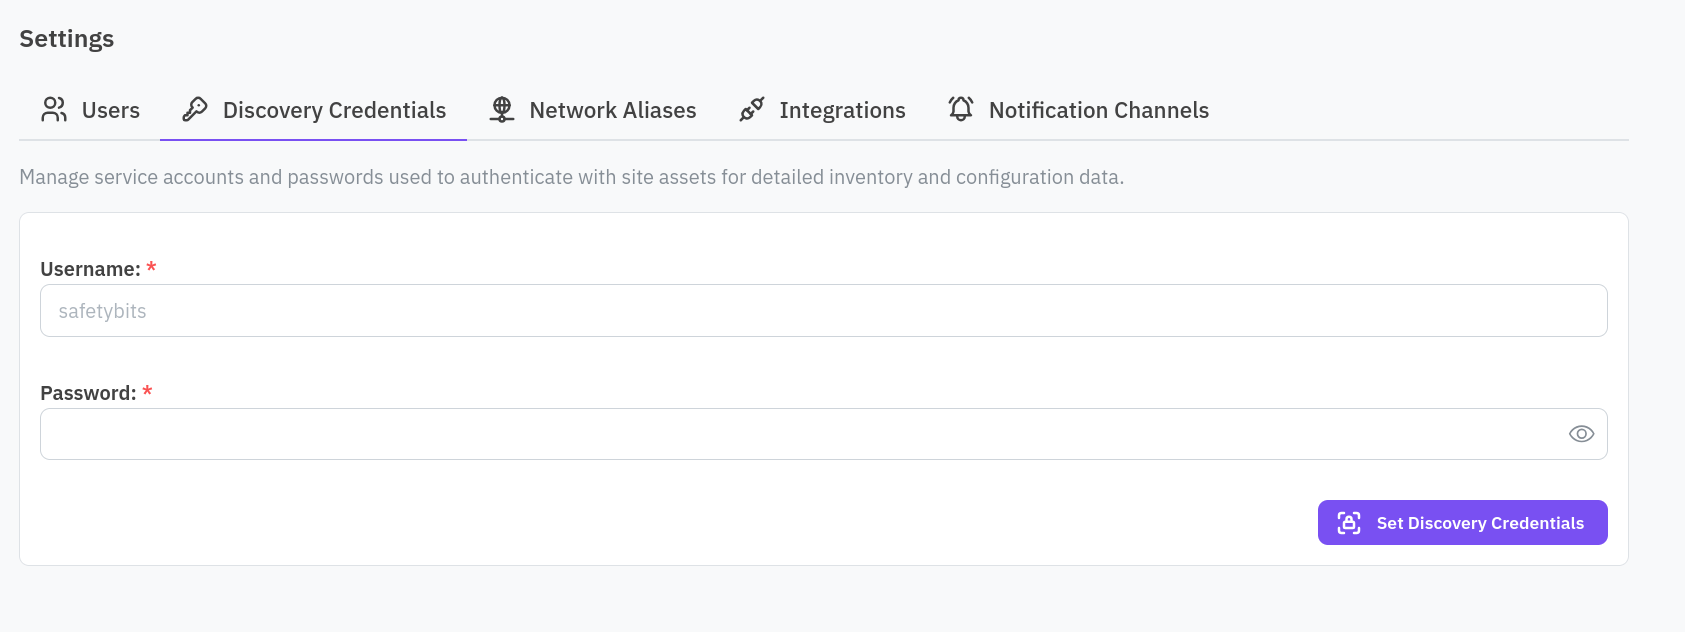
If you want deeper visibility into devices that support authenticated queries, such as OPC UA servers, add a service account for the sensor to use in Settings. Discovery works passively without this; credentials fill in detail passive observation cannot, which also tightens vulnerability matching. See Vulnerability model.
Choose your compliance benchmarks
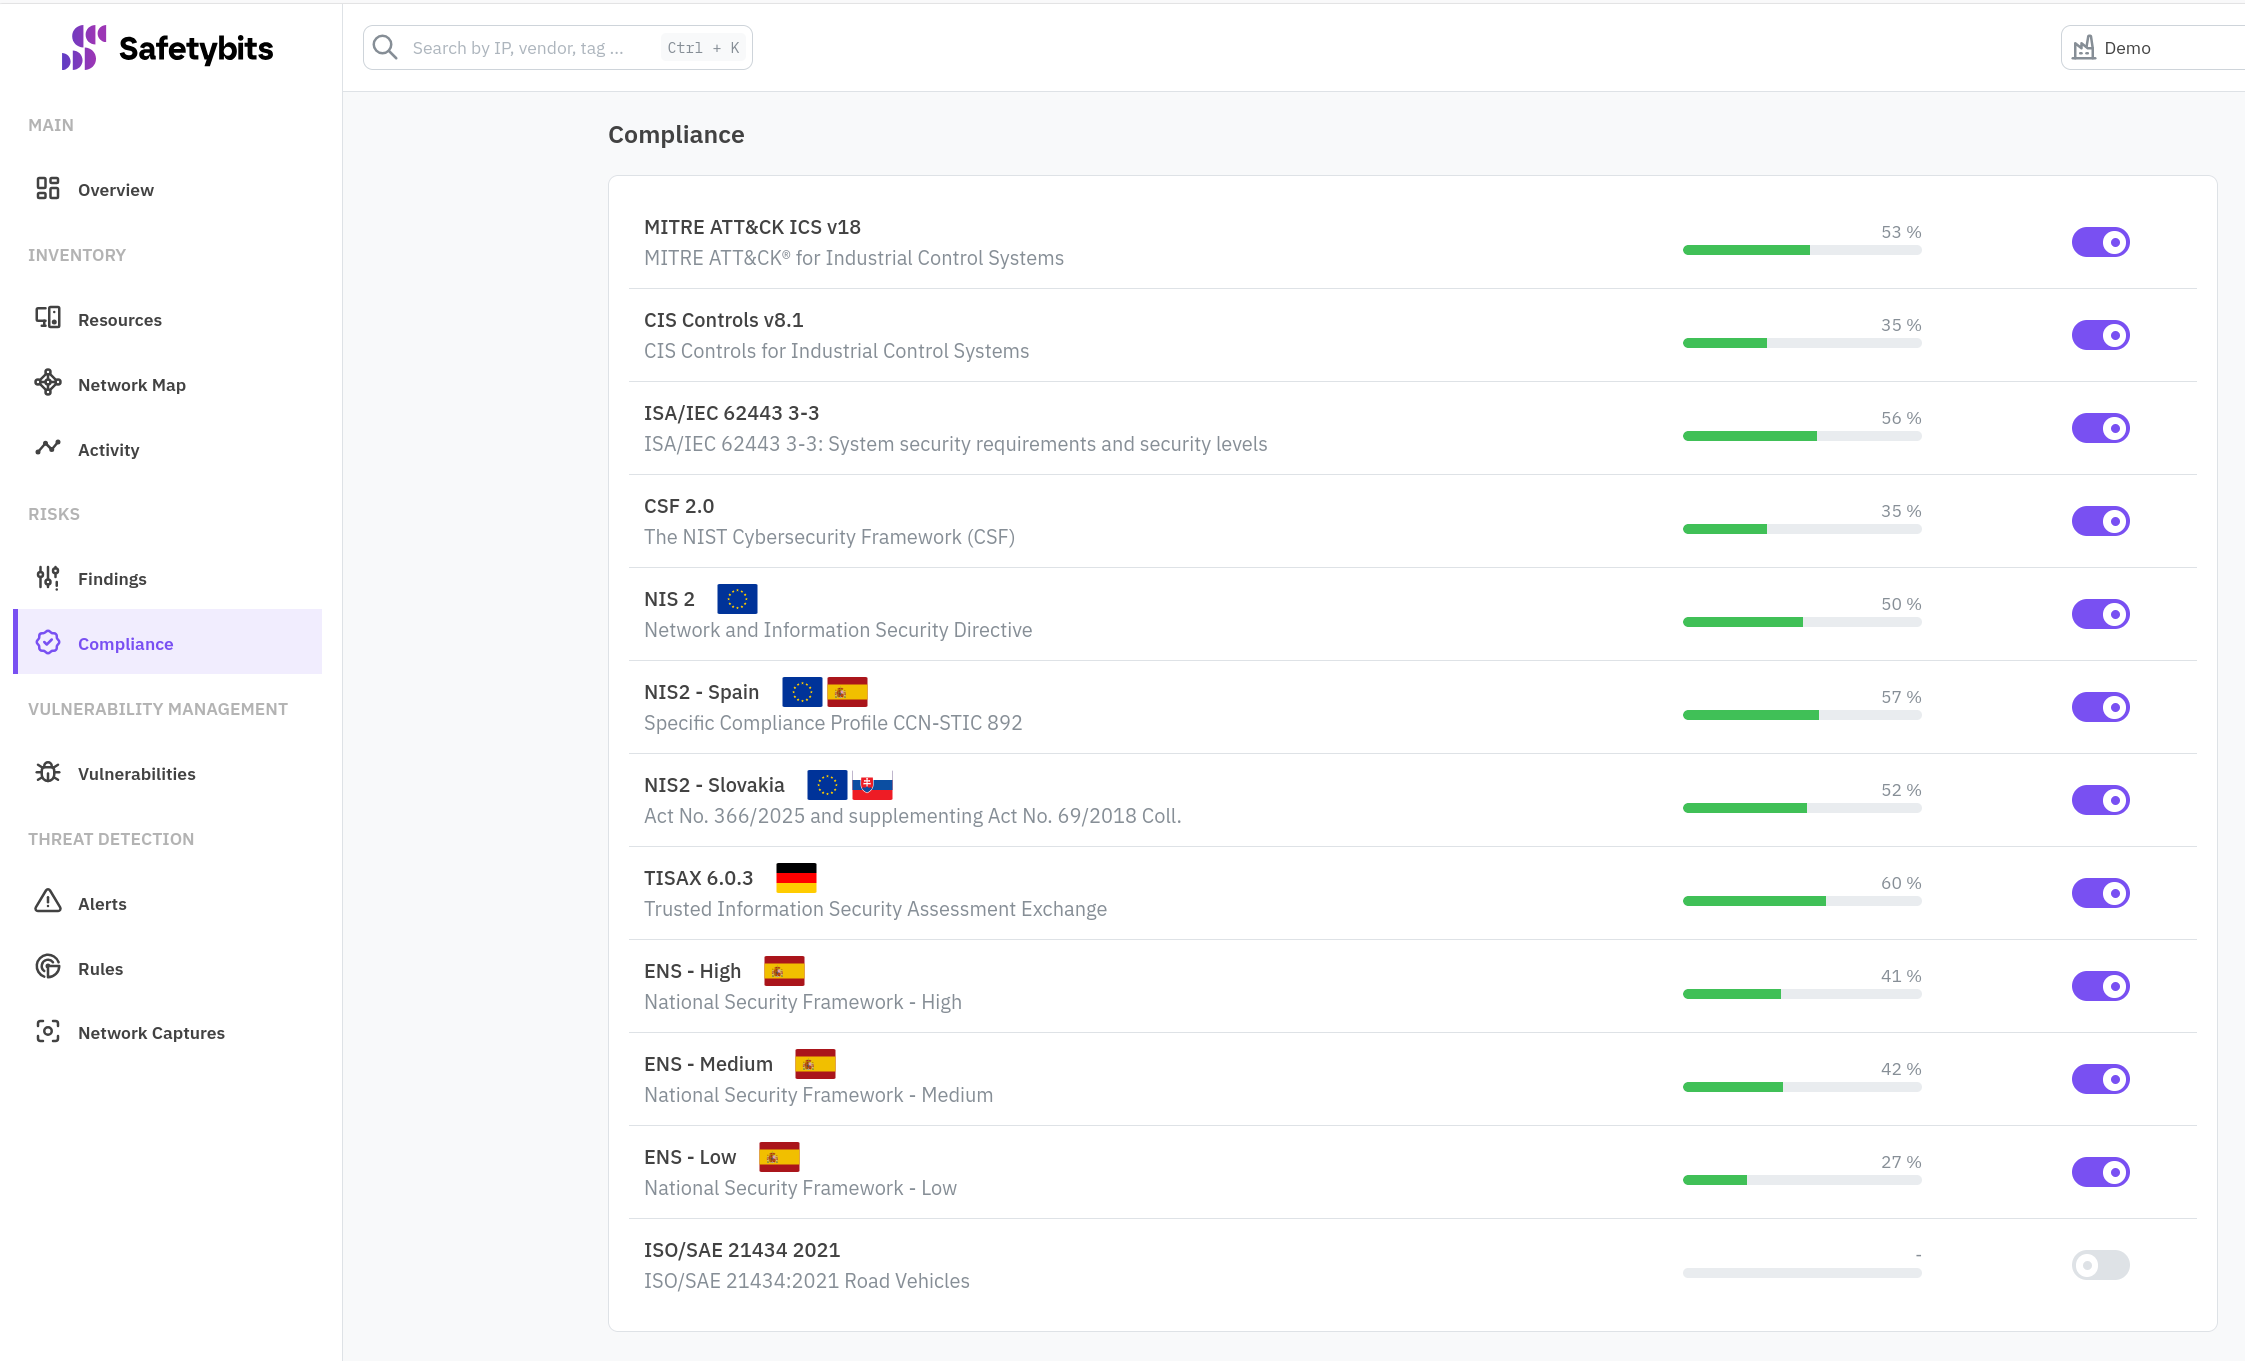
Go to Risks and pick the benchmarks that apply to this facility, such as IEC 62443-3-3 or NIS2. Each benchmark starts scoring against the controls it references from the next snapshot onward. See Risk model for how a score is computed.
Tune detection rules
Review the rules enabled by default and disable or scope the ones that do not apply to this facility, so alerts stay signal rather than noise. See Detection model.